
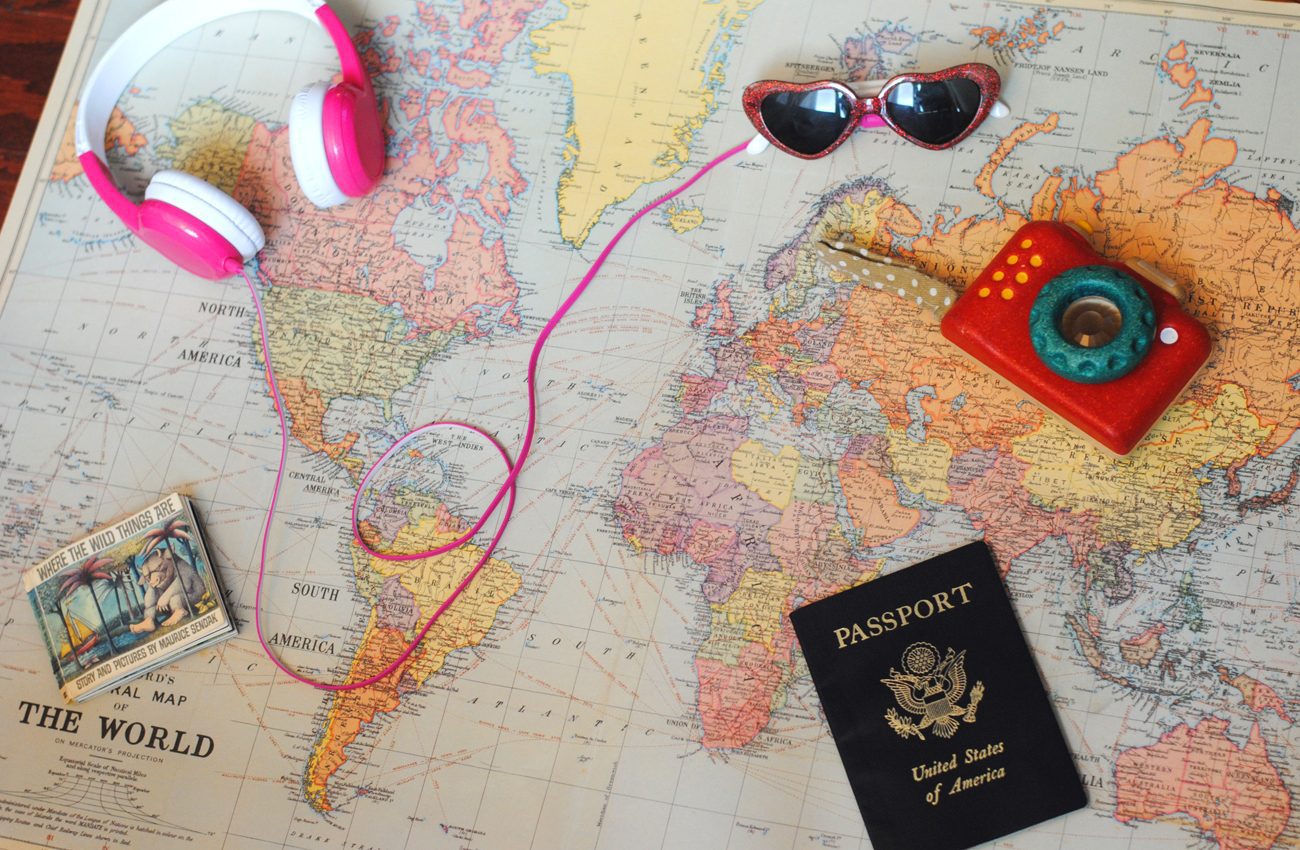
Bon Voyage! How to Get Your Kid a Passport
From start to finish, here’s everything you need to know to get your little jet-setter on their way!
While kids don’t generally need identification to fly domestically, all kids—even babies—need a passport if traveling internationally. All kids under the age of 16 have to apply in person, and in most cases both parents need to come too. Also, unlike an adult passport, which is good for 10 years, and can be renewed by mail, kids’ passports only last for five years, and you have to repeat this in-person application process until they turn 18.
Applying for your child’s passport isn’t as bad as you think and there’s all that fun you are going to have on the trip, so keep that in mind when you are doing this! Let’s break it down, and run through of everything you need to get a passport for your kid.
1. Proof of Citizenship
For an American-born baby getting their first passport, this requirement is met with a birth certificate. This must be an original birth certificate or certified copy—if you feel a little nervous about sending the only copy of your child’s birth certificate off, you can obtain a certified copy for $20 in person at Vital Records office (in Philadelphia, this is located at 110 North Eighth Street), by mail, or most conveniently, online at VitalChek (for a small additional fee, which is totally worth it).
If your child has had a U.S. passport before, their undamaged passport (even if it’s expired) also works as proof of citizenship.
If your child was not born in the United States, a Certificate of Citizenship is required to get a U.S. Passport.
2. Proof of Relationship
The child’s parents or guardians have to show proof of their relationship to the child as well. Since you’re probably already bringing the child’s birth certificate, you are fine with this (assuming you are the child’s birth parents). An adoption decree or custody decree would also meet this requirement.
3. Identification
Parents or guardians accompanying the child to the passport office need to show identification too, so be sure that you both bring your drivers’ license, state ID, passport (foreign or domestic), military ID, or certificate of naturalization or citizenship. Note that if you present out-of-state identification, you must present an additional form of ID. You can find the full list of secondary identification on the U.S. Department of State’s website.
4. Make Copies of All Documentation
Make photocopies of all of the above documentation. Even though they mail the birth certificate you supply, you need to make a copy of it as well. The copy needs to be black-and-white, single-sided, and on standard copy paper. Same for your IDs—make copies of those too, with the same parameters.

5. Photos
If your kids are too small to even stand or sit for a photo, lay your baby on their back on a plain white sheet, and make sure there are no shadows when you take the photo from above. U.S. Department of State suggests covering a car seat with a plain white sheet and taking a picture of your child in the car seat if lying on the sheet doesn’t work.
Passport photos have really specific parameters, so just go to a passport photo place and get that taken care of. The photos need to be 2×2 inches, with a white background, and they’re even specific about exactly where the person’s head needs to be in the photo, so seriously, just leave it to professionals.
There are many places nearby that take passport photos—even some drug stores do this. In Philly, my personal favorite place is PhotoLounge on 19th and Chestnut (since they can meet the parameters of many different countries’ passports), but really your local CVS will do just fine (just make sure that location does passport photos before you go). Google is your friend here.
Many passport acceptance locations will do photos for you as well, just check online first. They’ll charge you an additional fee when you’re filing, but everywhere is going to charge you, and if you can just get it done when you’re already going to send off your passport, you may just want to just opt for this and set aside some extra time at the passport office.
5. Form DS-11
Now that you have all your documentation and photos gathered, fill out Form DS-11, available online at the U.S. Department of State’s website. Do not sign the application until instructed to do so by the acceptance agent when you go file.
6. Fees
Bring your checkbook, because certain fees can only be paid by personal check or money order, and some fees need to be paid separately, so one check isn’t going to cut it. A passport book will cost you $80 (add $15 if you also want a passport card, which in most cases you don’t), plus $35 for the acceptance fee to the facility. These two fees need to be paid by separate checks.
Photos at the passport acceptance facility will be an additional fee (for us, it was $15 at the post office). Want to expedite the passport? That’s another fee. Be sure to verify acceptable payment methods with the acceptance facility ahead of time, because there isn’t uniformity with that—some places will accept credit cards for certain fees, while others will only take checks.

7. Submit in Person
All passport applications for minors under 16 (both first time and renewals) must be submitted in person. Look online to find an acceptance facility authorized by the U.S. Department of State. Many post offices, public libraries, and government offices perform this service. With this search tool, you can also specify that you want a facility that does photos on site, and you can check the hours and days the facility is open.
Some acceptance facilities require appointments and others allow walk-ins—call or look online to confirm. If you pick a post office, you can make an appointment at the USPS website. In our personal experience, this did not guarantee prompt service, but it definitely helped cut back on wait time, as compared to trying our luck with a walk-in.
Additionally, some places have passport acceptance fairs. You can find the regularly-updated list on the U.S. Department of State’s website.
In most cases, both parents or guardians, and the child, must appear at an acceptance facility or a passport agency with the DS-11 form and supporting documents. Essentially, both parents or guardians must authorize the issuance of the child’s passport, and the easiest way to do this is just to both go with your kid. Of course, most of the hours that passport acceptance facilities are open are business hours, but if you check online you can find places that have Saturday hours so you don’t have to take off school and work just to get a passport.
If one parent is unable to come, they can give permission by completing Form DS-3053, which must be done in the presence of a certified notary public. This form, plus a photocopy of the parent’s identification, can then be submitted along with the passport application in person by the other parent. Written authorization from the parent that cannot appear in person must be less than three months old.
If you are a parent who has sole legal authority, you have to show proof, such as court order granting you sole custody, a certified copy of the child’s birth certificate or adoption decree listing you as the only parent, or a death certificate of the other parent.
8. The Waiting Game
You’ve already waited at the passport office, and now you get to wait some more for the passport to come in the mail! Your kid’s passport will generally take four to six weeks to process. If you expedite, that can be cut down to two to three weeks (though it will cost you more).
You can check the status of your child’s passport online at the U.S. Department of State about a week or so after you submit the application.
Photographs by Laura Swartz.
Jeff January 2, 2023
Thanks so much for this guide! I used it, word-for-word, to get my 8 month old daughter a passport. Getting the official copy of the birth certificate definitely gave me peace of mind – great tip. And I opted to take the photo at USPS so that I could submit the application all in one place. Had it expedited and received it in 20 calendar days!